Can you see the wind

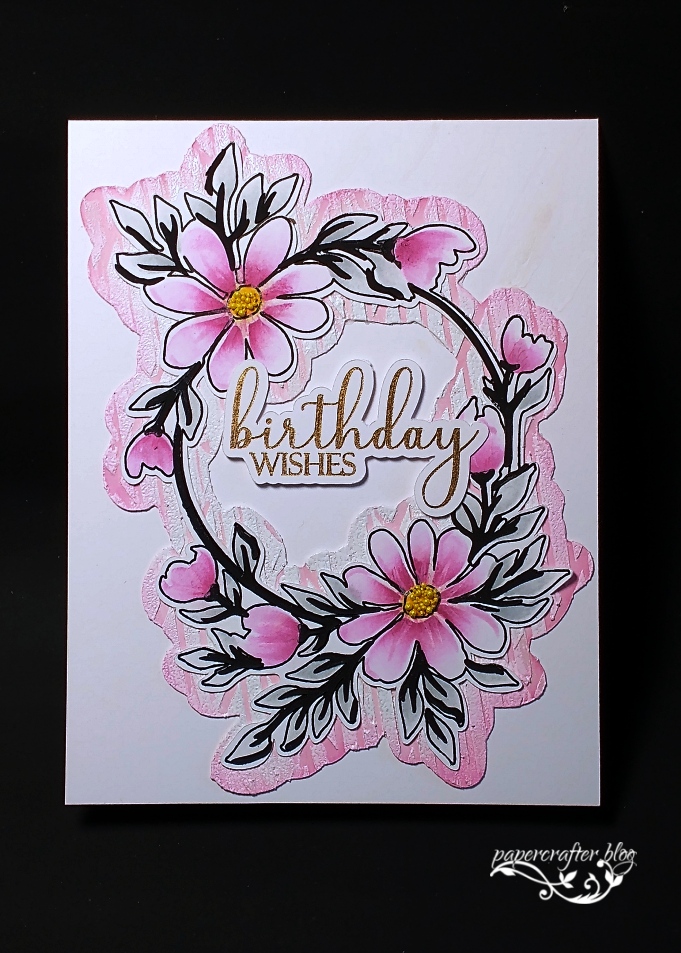
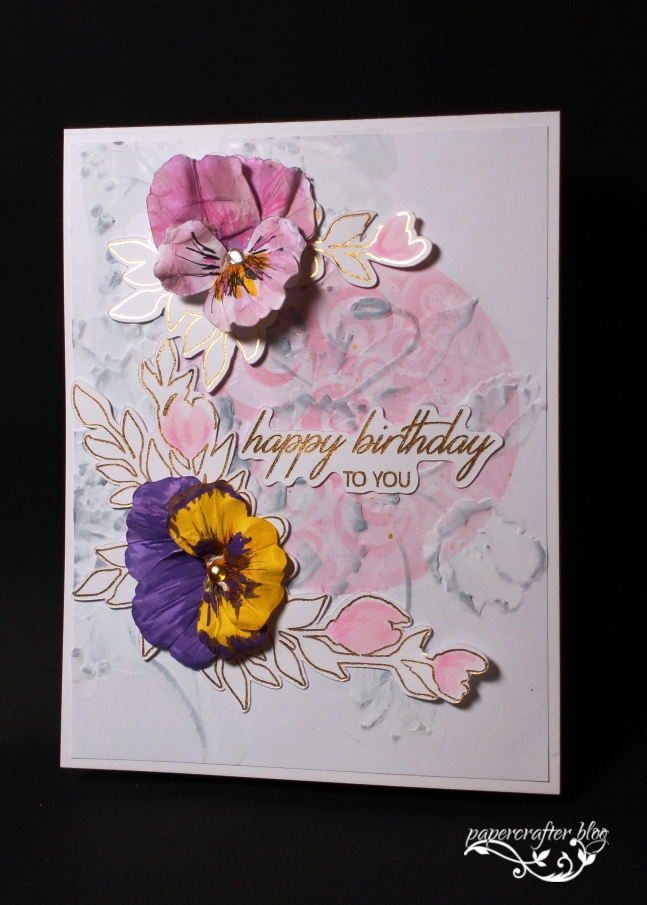
For the weather challenge I was trying to use the pink circle center that was sponged ink and a circle stencil then another stencil with circles in it design on top with more pink ink to have wind motion. It kind of got lost when I embossed the white copy paper with a floral spray ef that got gray ink swiped then white washed with acrylic paint. The pansies were cut on the Silhouette then colored, shaped and layers attached. My foliage layer was the wreath foiled that was cut apart, used one layer of the stencil to add pink buds and then glued on bg. The pansies were added where the gold flowers are. Sentiment was in stash. All is mounted on white cs base.

We have had wind this spring, averaging over 20mph and up to 60 – off and on for days. The green grass is pretty but I am so done with this kind of wind.

Thanks for sharing your time with me, now I am sharing this with:

Simply Simple: Weather

Cupcake Inspiration: Flowers

Can You Handle the Pressure: Weather

Spring in Yellow & Pink

I had purchased some black foil to use in my Silhouette with the Foil Quill and had not opened the package that I got in the fall. As a remedy to that I used this svg image and the black foil on white cs. I added a small reveal to the foiled layer and then created a much larger reveal for the mat layer. Using the stencil set I sponged ink for wreath colors and added black modeling paste for the details on the last layer stencil. Once dry I glued on yellow prills to the flower centers. For the mat layer I first sponged it pink but was not happy with that so I added white acrylic paint in a white wash to the whole mat layer. Still not right I added white modeling paste through a geometric stencil. Still not the look I was going for I swiped white ink pad over the top then heat set white embossing powder and sponged pink ink on the outer most edges SUCCESS. Once these two layers were attached to a white cs base I added the gold foiled sentiment from my stash (I made a bunch up on a rainy day last week).

Thanks for sharing your time with me, now I am sharing this with:

CAS on Friday: Spring

Color Hues: Yellow & Pink

Four Seasons: Spring

SHOWERS or FLOWERS at The Sisterhood

The Sisterhood of Crafters Challenge  theme is

SHOWERS or FLOWERS

The image is a multi stamp. I stamped all the pieces in black ink on white copy paper then created an outline that I could Foil Quill with my Silhouette. It is foiled with silver matte heat transfer foil. I was inspired to create the frame by a Stamp Buddy that does fractured technique. I enjoyed the straight lines and geometric feel this gives, so I combined a diamond and hexagon with an outline to cut this image with the Silhouette. It was then heat set in silver with embossing powder. The mat layer behind was die cut at the same time and then dry embossed with a shattered glass ef that I added clear embossing to the raised areas then sponged on light blue. CS base is sponged in light orange with an embossing folder. Feel free to use my frame jpeg in any way you want. I can send you the svg if you want as well.


Get those creations of SHOWERS or FLOWERS going and display them at

The Sisterhood of Crafters Challenge  

Tons Going on Here

I had cut these anemones on the Silhouette from svg #440713 for the first time in white cs but just could not decide how to use them. After coloring with soft colors using wet brush to tip of colored pencils they looked ok but not great so they sat for a few more days. Went ahead and created layout and even glued down on the bg piece. But they still were not right, so I used a brush and my homemade shimmer watercolors thinking I was adding shimmer, which it did, but it really brighten them up. My bg piece is a pull using copy paper of the previous post when I could not get the ink to dry on the gold paper. I embellished it by adding gold flakes from my leftover foil sheet used to create the sentiment on the Silhouette and Foil Quill by pressing dabs of white glue then pressing the foil sheet down. Funny thing happened, because I pressed well before the glue was dry, so some foil stuck but some glue was on the foil sheet such that when I pressed again where there was no glue on the paper, foil transferred from the sheet. Frame on the white cs base was gilded using tape runner then pressing the foil sheet till adhesive was covered. Mounted piece but still was not done till I added white modeling paste in two corners with argyle embossing folder and black stitching lines using black gel pen and freehand. So cool how the ink bled through the modeling paste. Now it was done.

Thanks for sharing your time with me, now I am sharing this with:

NBUS: ATG

Try It On Tuesday: Rainbow Colors

Stencil Fun: Flowers